The CalendarView control in UWP is one of the many useful building blocks that will help you create your app easily. The control itself is quite customizable. But what if you want to customize the numbers for individual days in month? We will explore this question in this article.
Scenario
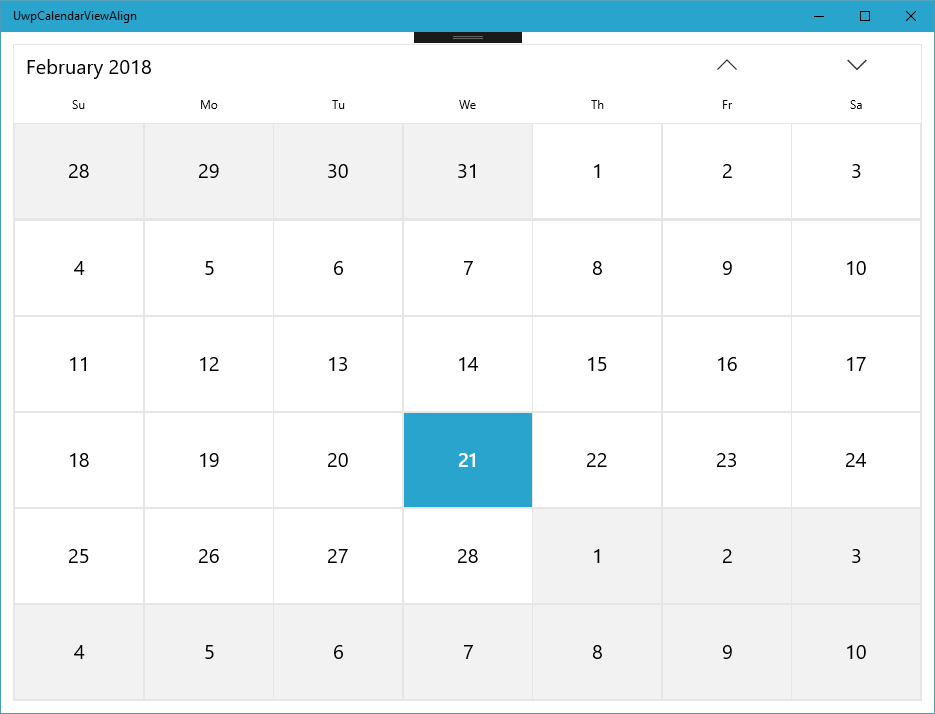
By default the CalendarView displays the numbers of days in the month in the calendar horizontally and vertically centered:

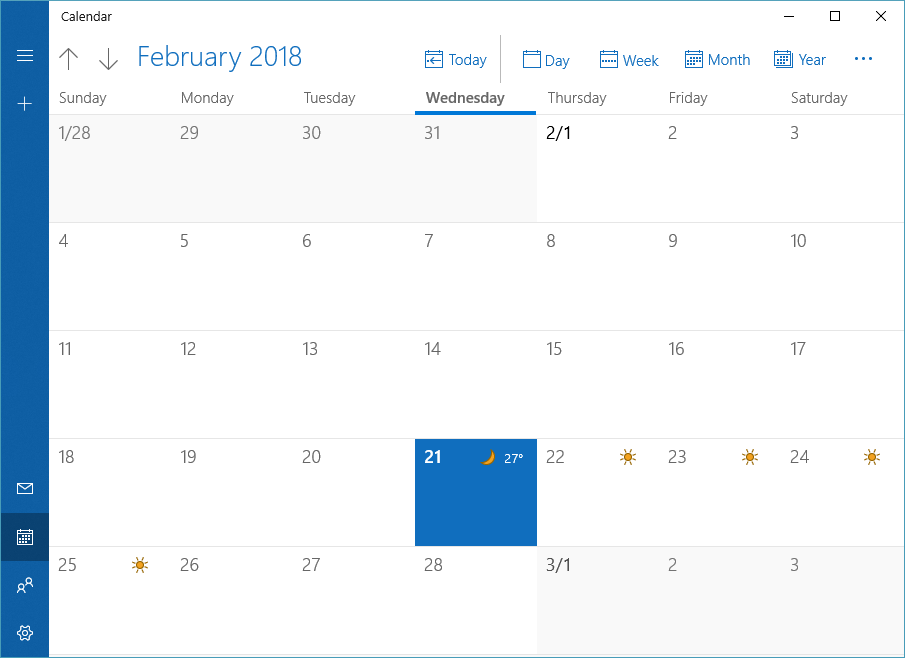
This looks good, but you might prefer a different layout. For example the built- in Outlook Calendar app uses top left alignment:

Where are my day numbers?
The quick first idea of every XAML developer is that it should be able to customize the control Style to achieve customization. Unfortunately, to our genuine surprise, there is no reference to day number display in the template. The second idea is of course to modify the CalendarViewDayItemStyle. This seems like it should lead to a successful solution, but once again we hit a roadblock. Any changes to this style only affect the area behind the number, but not the day number. What is going on? The XAML Live Visual Tree explorer gives us an answer.

The first child of the CalendarViewDayItem is the content we create in the CalendarViewDayItemStyle's Template whereas the second child is a TextBlock which is the day number. This is added after our content and is added by the CalendarView control. How do we get hold of it?
Changing it already?
Because CalendarView data changes a lot, there is no Items property that could give us access to individual days. Instead there is a CalendarViewDayItemChanging event that is called whenever a CalendarViewDayItem is either created or updated. The compactly-named CalendarViewDayItemChangingEventArgs class contains the Item property that gives us access to the CalendarViewDayItem in quesiton. We will use this to find our day number TextBlock. First let's write a simple helper method using VisualTreeHelper to find a first direct child of a given type:
private T FindFirstChildOfType<T>(DependencyObject control) where T : DependencyObject
{
    var childrenCount = VisualTreeHelper.GetChildrenCount(control);
    for (int childIndex = 0; childIndex < childrenCount; childIndex++)
    {
        var child = VisualTreeHelper.GetChild(control, childIndex);
        if (child is T typedChild)
        {
            return typedChild;
        }
    }
    return null;
}
Now the only thing left is to find and customize our long-sought TextBlock:
private void CalendarView_OnCalendarViewDayItemChanging(CalendarView sender, CalendarViewDayItemChanging args)
{
    var textBlock = FindFirstChildOfType<TextBlock>(args.Item);
    if (textBlock != null)
    {
        textBlock.HorizontalAlignment = HorizontalAlignment.Left;
        textBlock.VerticalAlignment = VerticalAlignment.Top;
        textBlock.Margin = new Thickness(12);
        textBlock.FontSize = 26;
        textBlock.FontWeight = FontWeights.Light;
    }
}
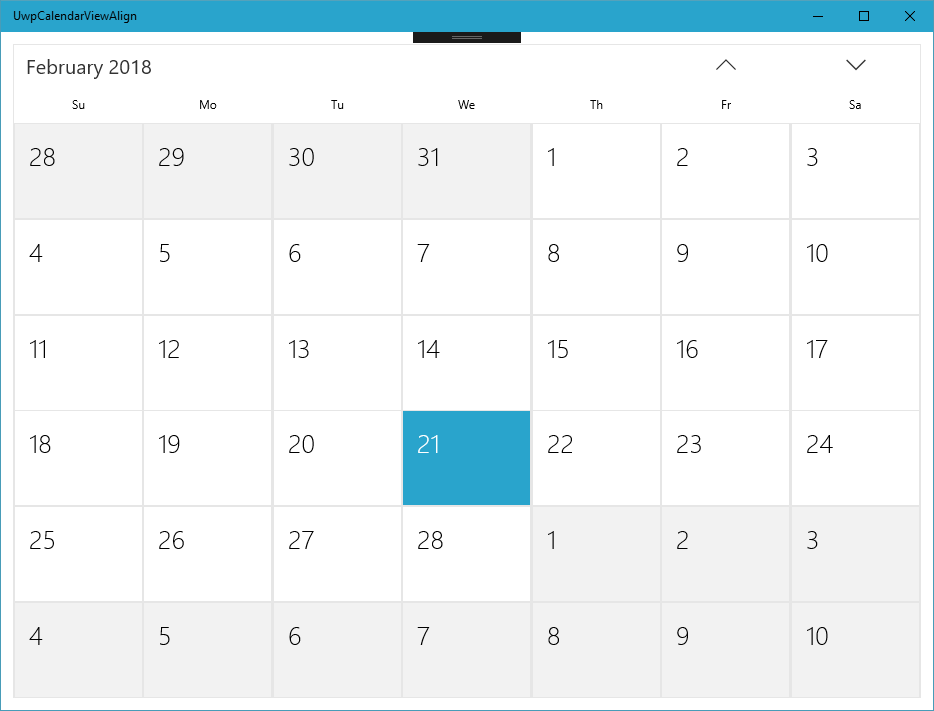
Et voilà - our CalendarView is now customized!

Source code
Example source code for this article is available on my GitHub.
Summary
We have shown how to access individual day items in UWP CalendarView and how to customize the display of the day number text using CalendarViewDayItem within the CalendaryViewDayItemChanging event.