Microsoft provides several build agents for your Azure DevOps builds and these are packed with features. Unfortunately, they have one disadvantage - you always get a completely clean agent for each build. This is, of course, necessary for security, but it also means there can be no caching of dependencies and packages which results in longer build times. Luckily, you can quite easily set up your own Azure VM build agent which will work around this issue.
Creating the VM
In the Azure Portal click the green plus button in the menu and search for "Visual Studio" in the search box:
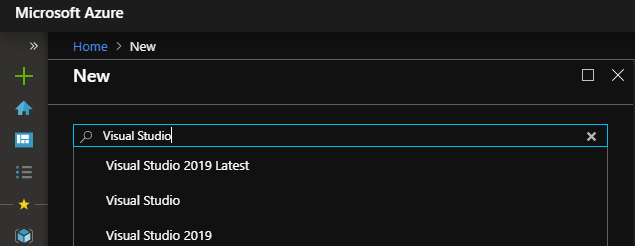
The Visual Studio 2019 and Visual Studio 2019 Latest images are great starting points for a build agent as they come with a pre-installed Visual Studio 2019 with all workloads enabled.
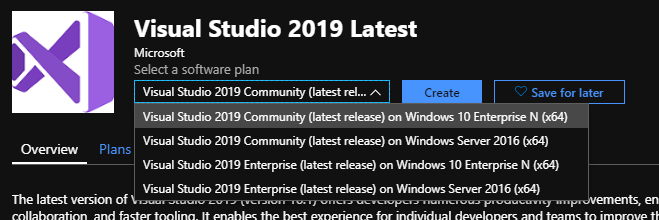
In the image intro page, you can select an edition of Visual Studio as well and then click Create. In the wizard, we need to select the resource group to which we want to assign this new VM, set the VM name and its size. I recommend one of the burstable VMs (starting with B). These are generally cheaper as they are optimized for workloads where they are idle most of the time but need to burst to high performance for short periods of time - which is exactly the case for our build agent.

Next, set up the administrator credentials and then go to the Inbound port rules section and allow RDP connections in the dropdown:
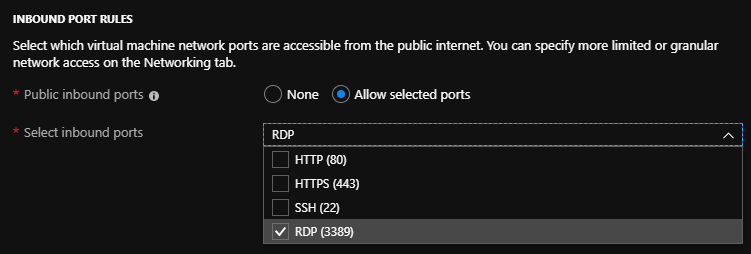
This way you will be able to connect to your newly created VM via a Remote Desktop Connection to set up the build agent further. You can always disable this port later. These are all required settings, so you can just click to the last Review tab or customize further if you want. Finally, click Create on the review page and let your VM to deploy.
Preparing Azure DevOps
Next up, go to your Azure DevOps dashboard, click your profile picture in the upper-right corner and select Security.
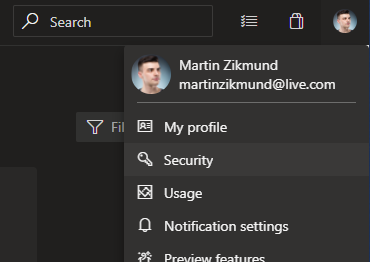
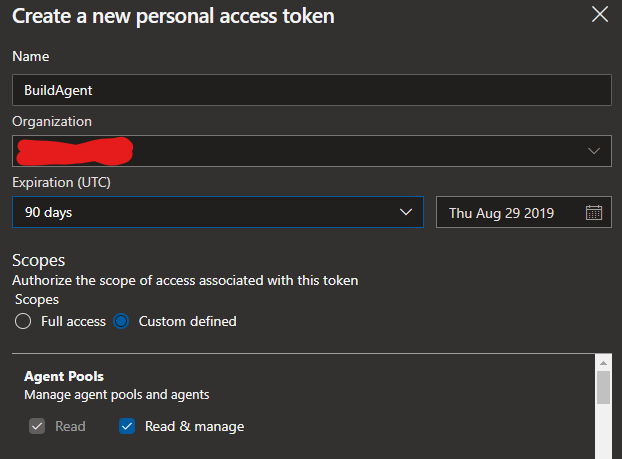
Select Personal Access Tokens in the left-hand menu and then click New Token. In the dialog pane, set the name, and expiration. The expiration does not have to be too long, it is used just for the initial set up of the build agent and then should no longer be needed. In the Scopes section, set Custom defined and click Show all scopes link which is at the bottom of the dialog. Then find Agent Pools scope and check the Read & Manage permission. For deployment group agents also check the same permission in the Deployment Groups scope.
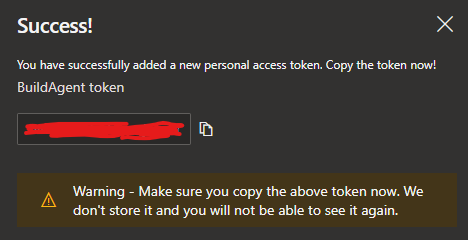
Click Create and you will be shown the newly generated token. Make sure to copy it somewhere (like notepad), we will need it later and you cannot display it again. Once done, Close the pane.
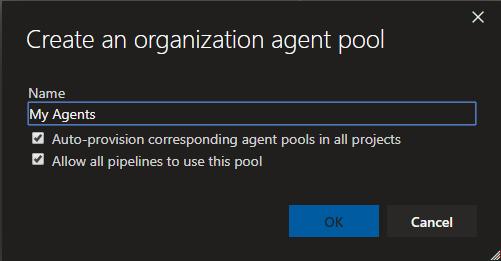
Now that we have our access token, let's get the agent installer. Go to the Azure DevOps organization dashboard and click Organization settings in the lower left corner. In the menu, find Agent pools in the Pipelines section. Click the New agent pool... button and enter the desired name of your new agent pool.
Select your newly created pool in the list and then click the Download agent button. As we are creating a Windows x64 agent, just click Download which will start the download of a zip archive with the agent setup.
Connecting to VM
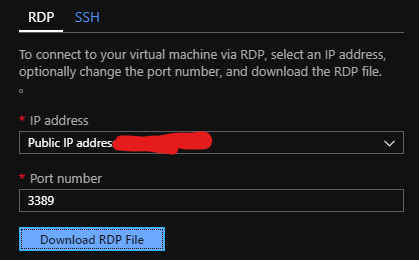
By now the VM should be running, so let's go to Azure Portal and find our VM. We can do so by its name or just go to Virtual Machines or our Resource Group and find it there. Click the Connect button on the VM dashboard and then in the newly opened blade click Download RDP File:
Open the .rdp file you just downloaded. It will ask if you trust the remote computer, which you can because it is yours ;-) , so just check the confirmation checkbox and click Connect. You will get a Windows Security popup. Click More choices and then select Use a different account. Then fill out the credentials you have chosen during VM creation and click OK.
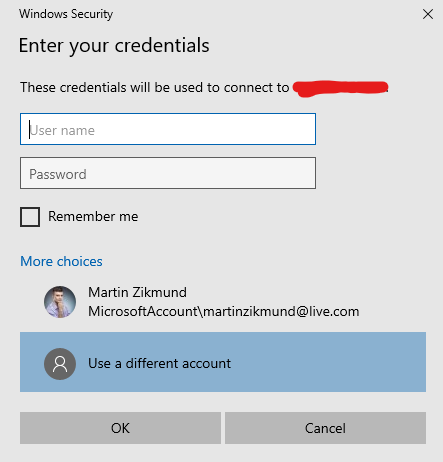
You will get another security popup, which you just confirm with Yes and in a few moments, you will be on your VM's desktop.
Configuring the agent
Once the VM desktop loads, find the agent zip archive we previously downloaded on your PC and copy it into clipboard (Ctrl+C or right-click and Copy) and then go back to the VM and paste it there (Ctrl+V or right-click and Paste). You will see a copy dialog:
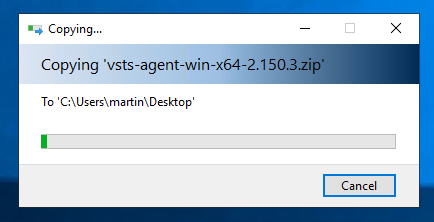
This will take a while according to the speed of your internet connection. When done, extract the archive (right-click, Extract All...). Go to the extracted folder, right-click config.cmd and choose Run as administrator.
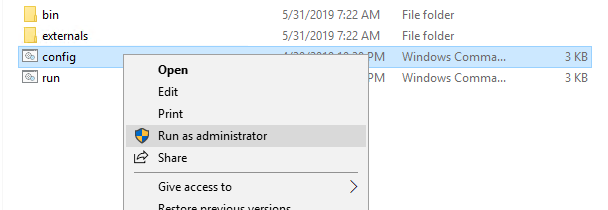
This will launch the configuration wizard which will walk you through the rest of the setup process. First, enter your Azure DevOps URL (in the format "**https://dev.azure.com/ORGANIZATION/**"or "**https://ORGANIZATION.visualstudio.com/**"). Next, we need to choose authentication type. As we are using PAT, just press enter. Now enter the Personal Access Token we created earlier. This should successfully connect to the server.

It should now be ready to register the agent. First, enter the Agent Pool - enter the same name as when you created it earlier in Azure DevOps - in my case it was My Agents. Next enter the agent name and confirm. You will also be prompted to enter the work folder, but you can just leave the default. Finally, decide if you want to run the agent interactively or as a service. The service-based agent is less obtrusive and runs automatically in the background, but the interactive option gives you a console where you can see the status and can run UI tests as well. In case you select the interactive agent, you will also be able to set it to run automatically after startup. This is useful, as it will run automatically after the VM restarts. Whichever option you choose, I recommend you to choose the user account under which the service will run. The default is a built-in network user, but this one does not have access to the work folder by default and in such case, you will have to grant it the required permissions. If you use your admin account instead, it will run without hiccups.
Using the agent in Azure DevOps
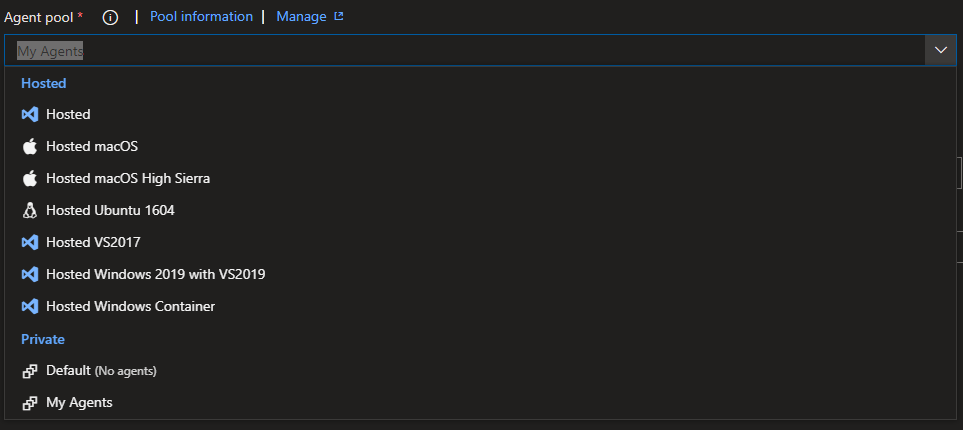
Now that the agent has been added to Azure DevOps, go to your build pipeline Edit it and select your new agent pool in the Agent drop down. Save and queue your build and you are done!
Summary
The first time your build will probably not run much faster than with the default agents, but any subsequent builds will just reuse the cached packages so the NuGet or NPM restore phase will be as quick as a few seconds instead of minutes. And that's a significant improvement! A custom agent can also help you in case you are using some specific tools which are not available in the default agents.